How to Store Breastmilk Without Plastic
This post contains some affiliate links, which means I may make a small commission from your purchase at no additional cost to you.
For the past several years, I have been increasingly committed to avoiding toxins as much as possible. At home, we use an air purifier and purify our kitchen sink and shower water. I stick to non-toxic cleaning products, personal care products, and cosmetics. I use cast iron skillets almost exclusively (no non-stick or aluminum) and store food in glass containers rather than plastic. I make most of our food from scratch and buy organic as much as possible in order to avoid harmful ingredients and pesticides.
Naturally, I wanted to be sure my baby girl was exposed to as few toxins as possible! Most of the time, Isla nurses directly from the breast and she isn’t eating solid food yet. However, when she was about six weeks old, we introduced the bottle to be sure that she would take one whenever I wasn’t available to nurse her. I also started pumping around this time and building up a freezer stash of milk in case my supply dipped or—God forbid—I was hospitalized or something and she needed milk.
Anyway, when food and drinks are stored in plastic, the chemicals from the plastic leach into the food/drink. This includes potential carcinogens (i.e., they may cause cancer). BPA-free plastic is better but still contains harmful chemicals. I don’t store my own food in plastic, and I didn’t want to store Isla’s food in plastic either! So I created a system for storing her breastmilk in glass and silicone only, and I’ve included an option if you wish to avoid silicone and use only glass. This system has worked well for us, can save money, and is environmentally-friendly. Read on below to see how I do it!
My Method for Storing Breastmilk Without Plastic:
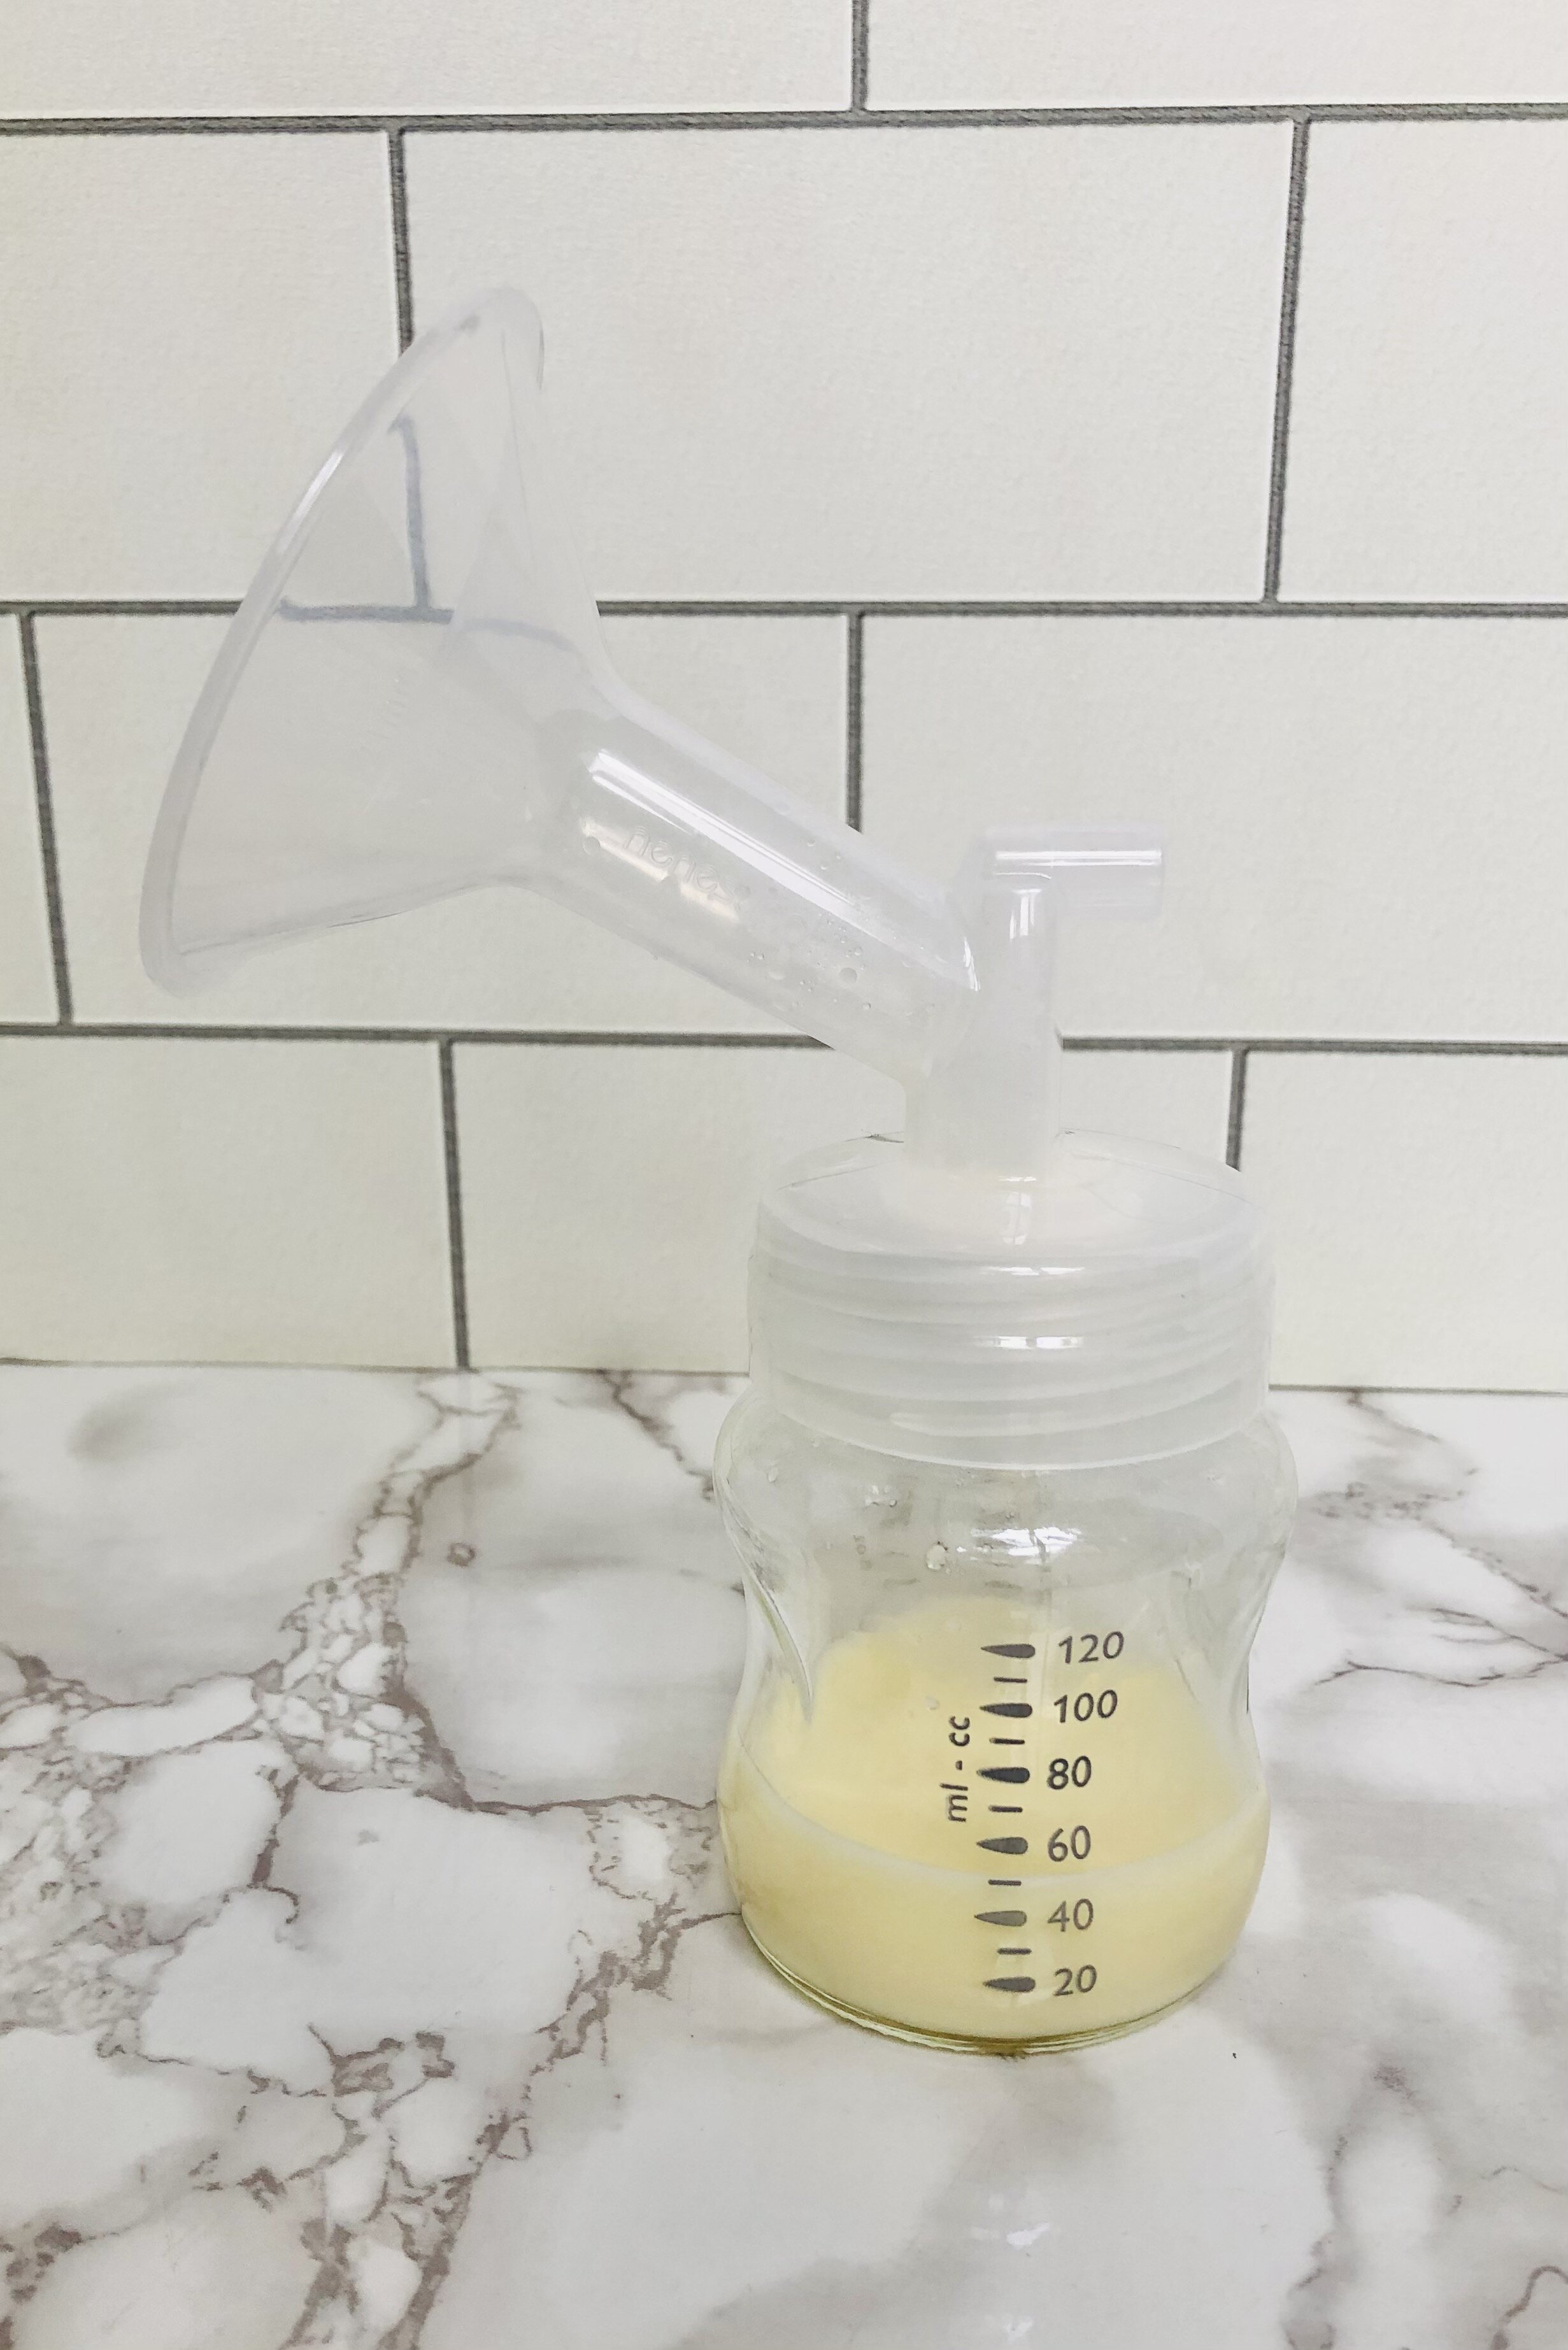
Pump directly into glass bottles. My pump came with plastic bottles, and I just threw them in the recycling bin. Instead, I use these glass bottles and screw them right onto my flanges.
Place the bottle in the fridge to cool completely.
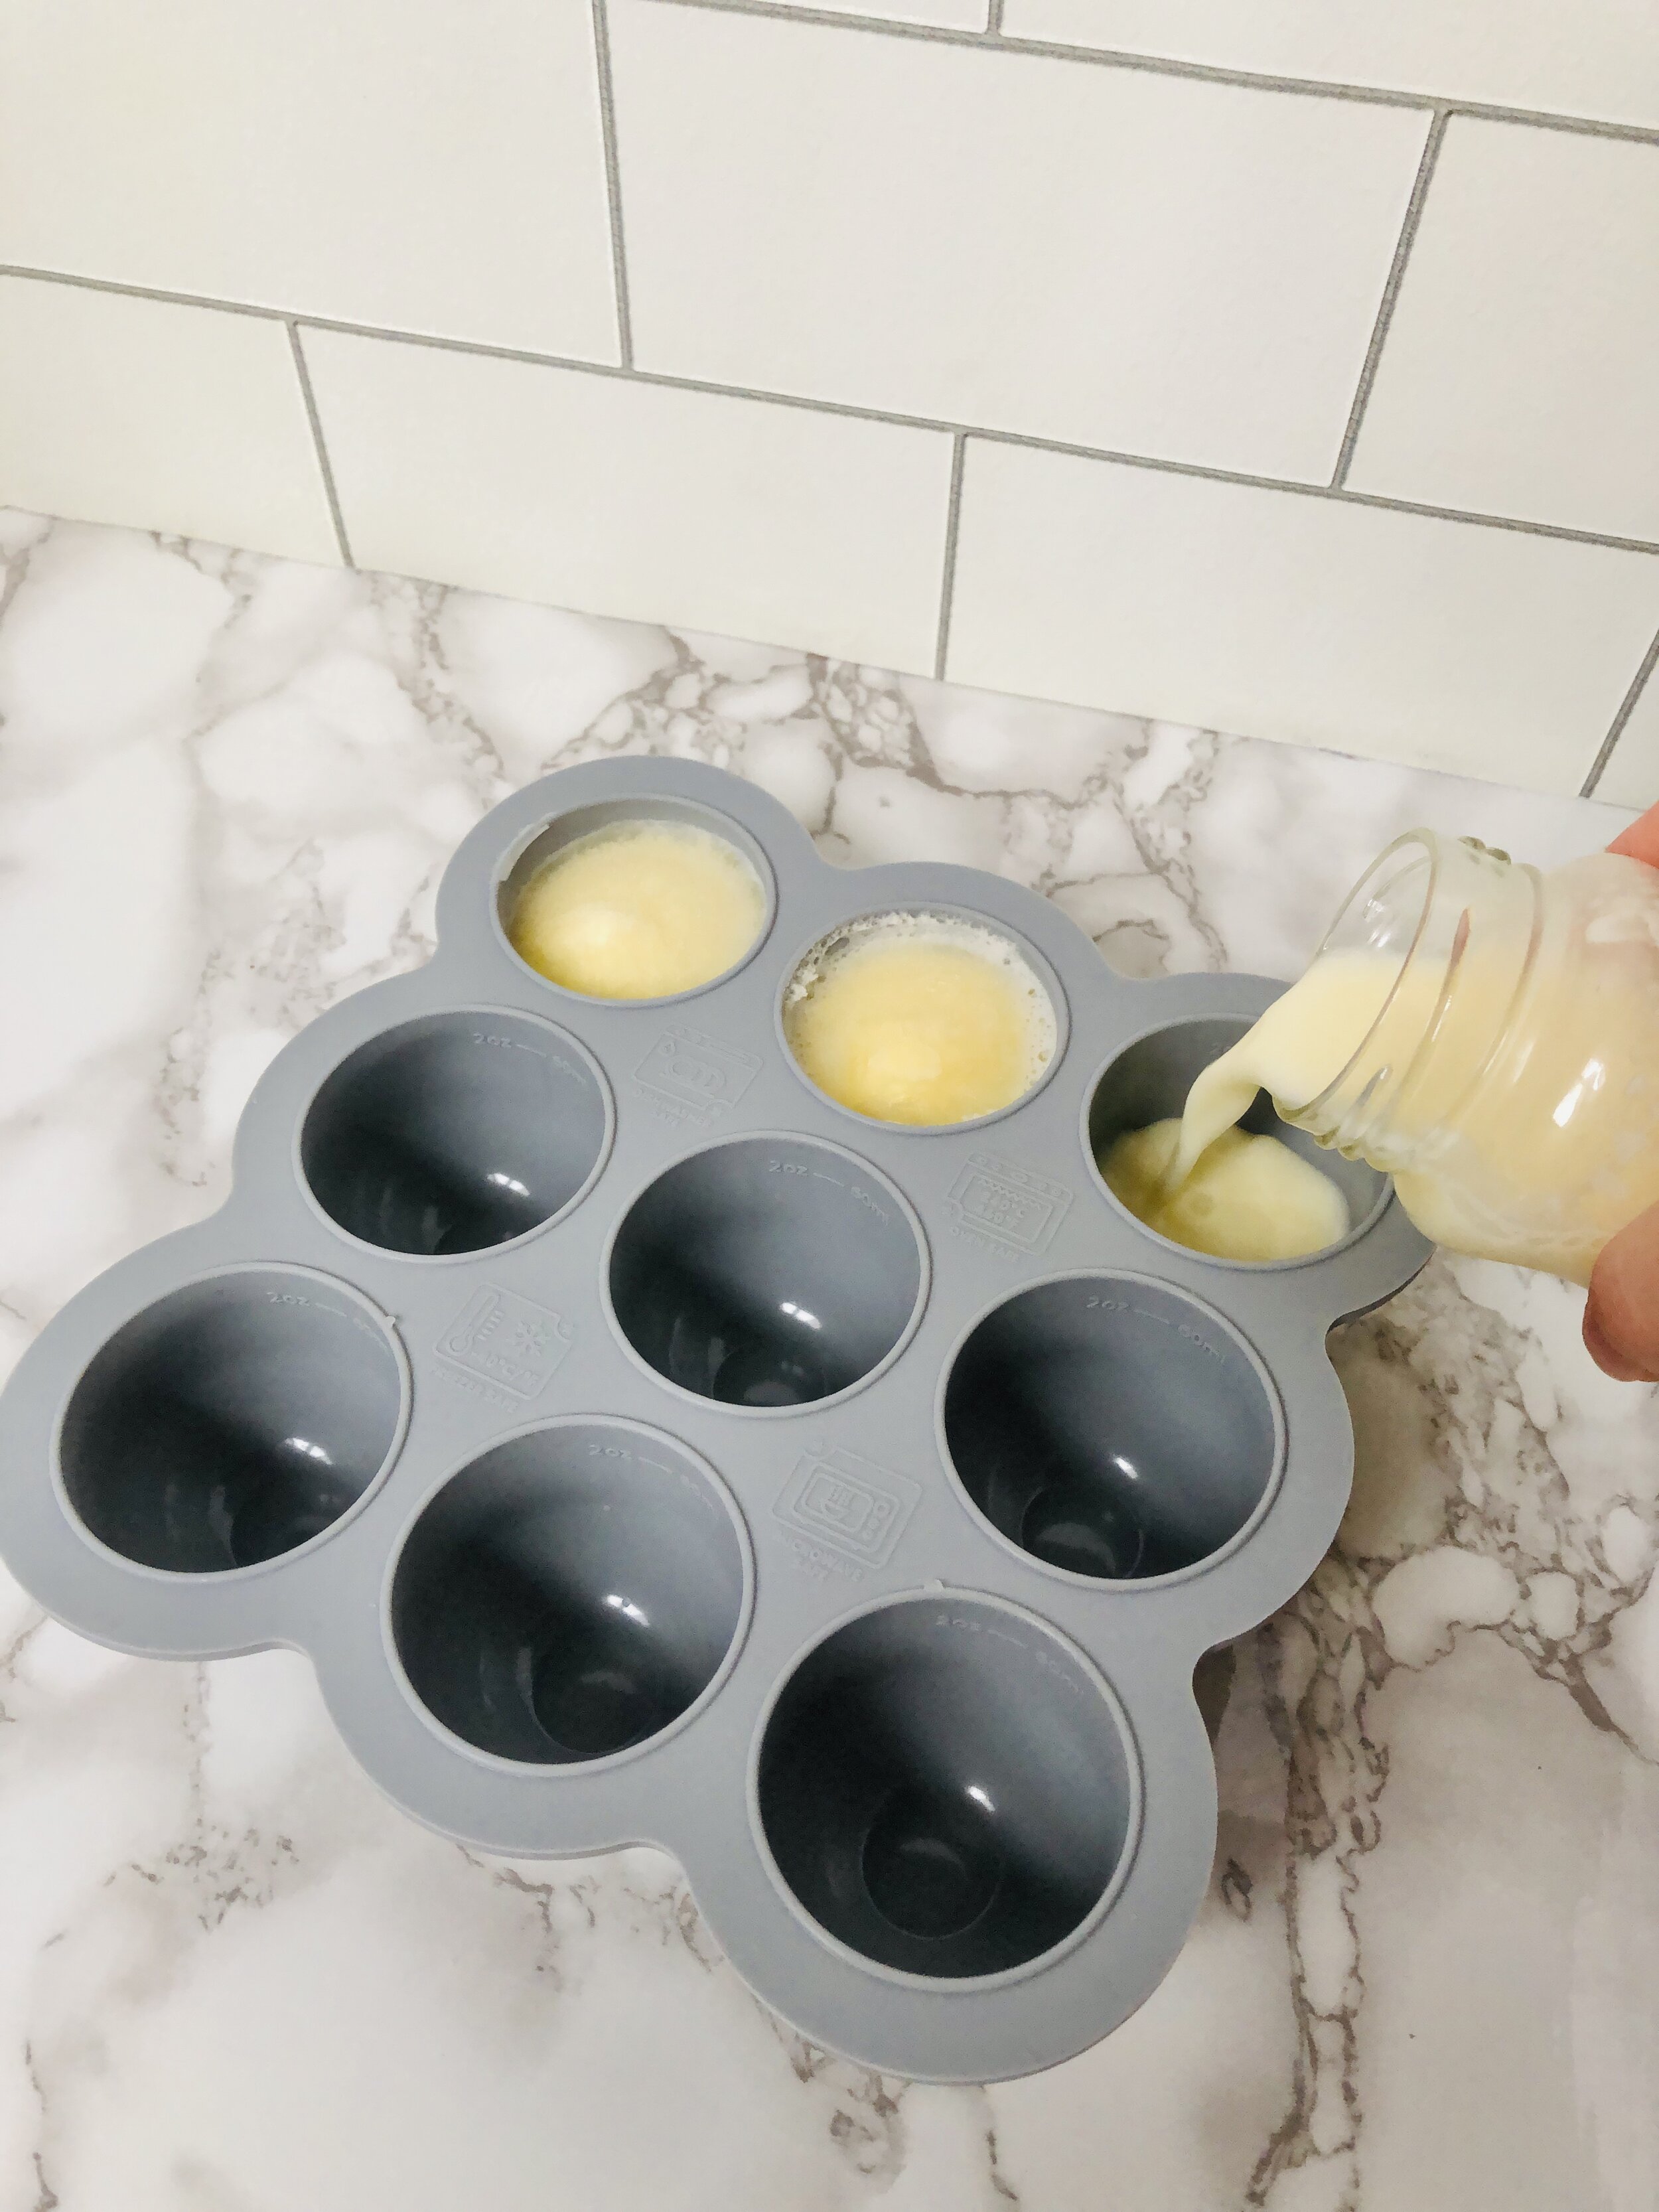
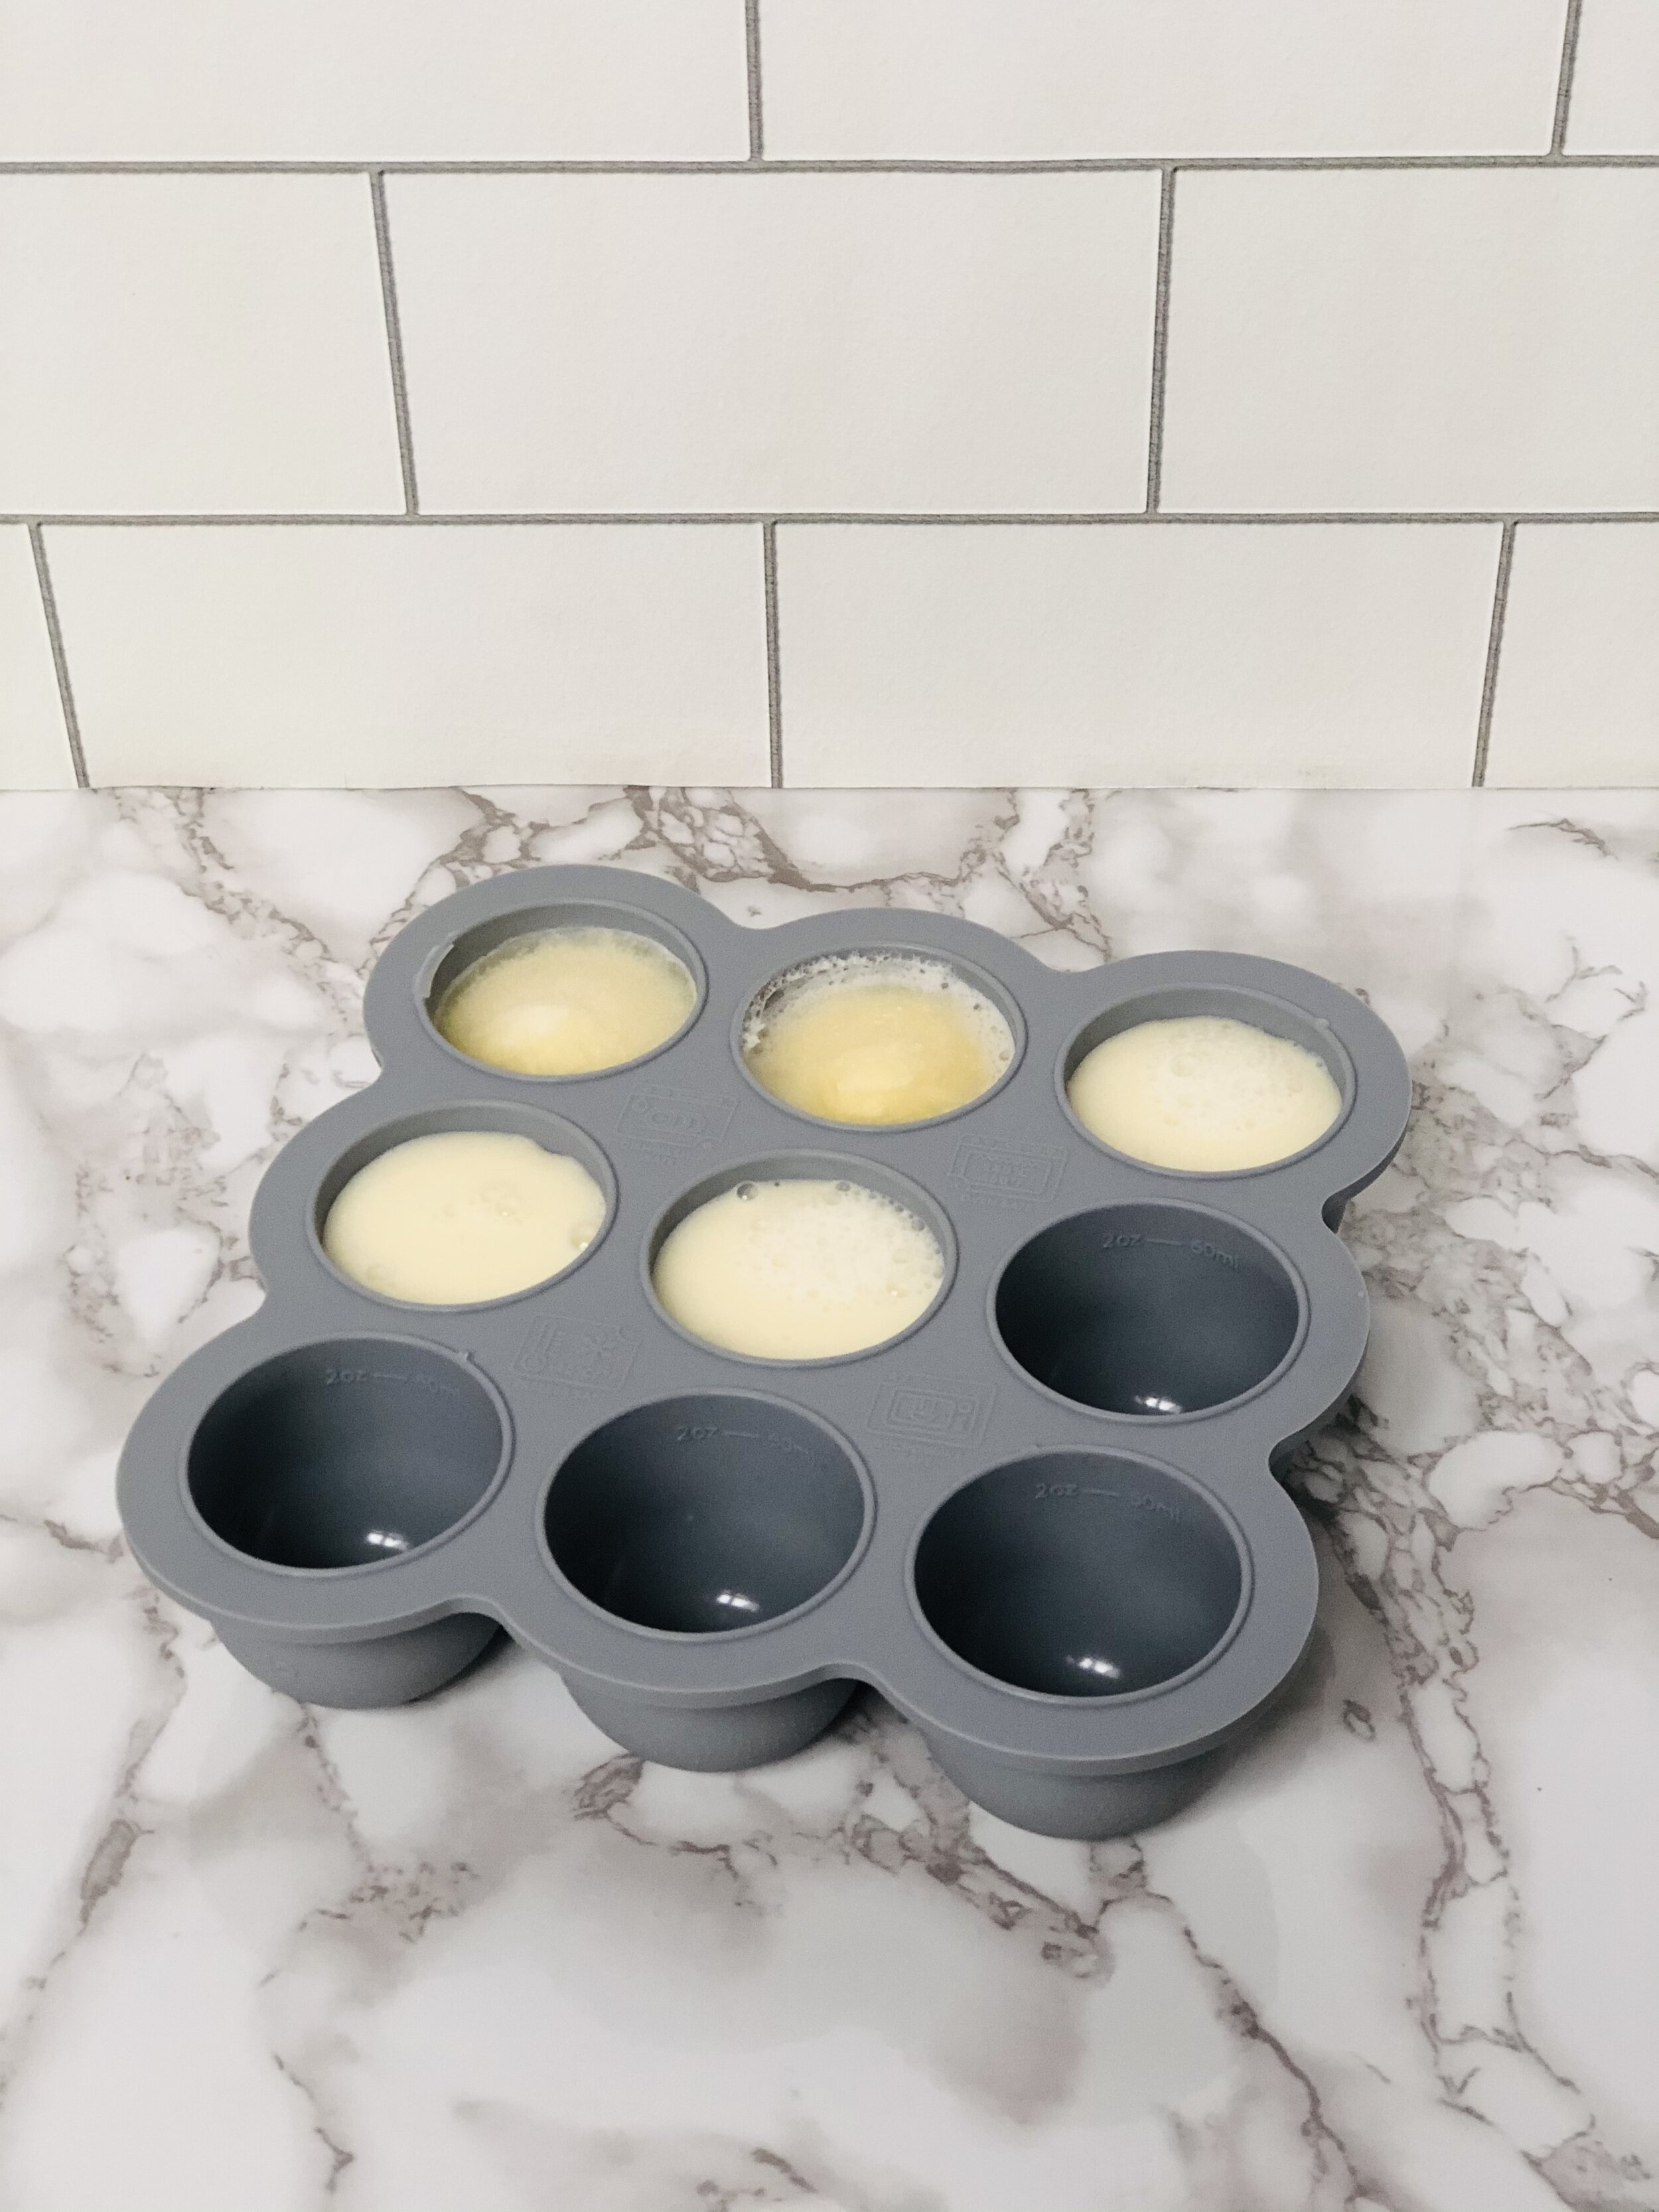
Pour milk into 2 oz. silicone ice trays. The tray I use comes with a silicone cover, on which you can write the date with a ballpoint pen (you can rub it off after when you wash it). Another option could be these 2 oz. glass jars. You could even use either option in the future to store purees.
Carefully place ice tray in the freezer.
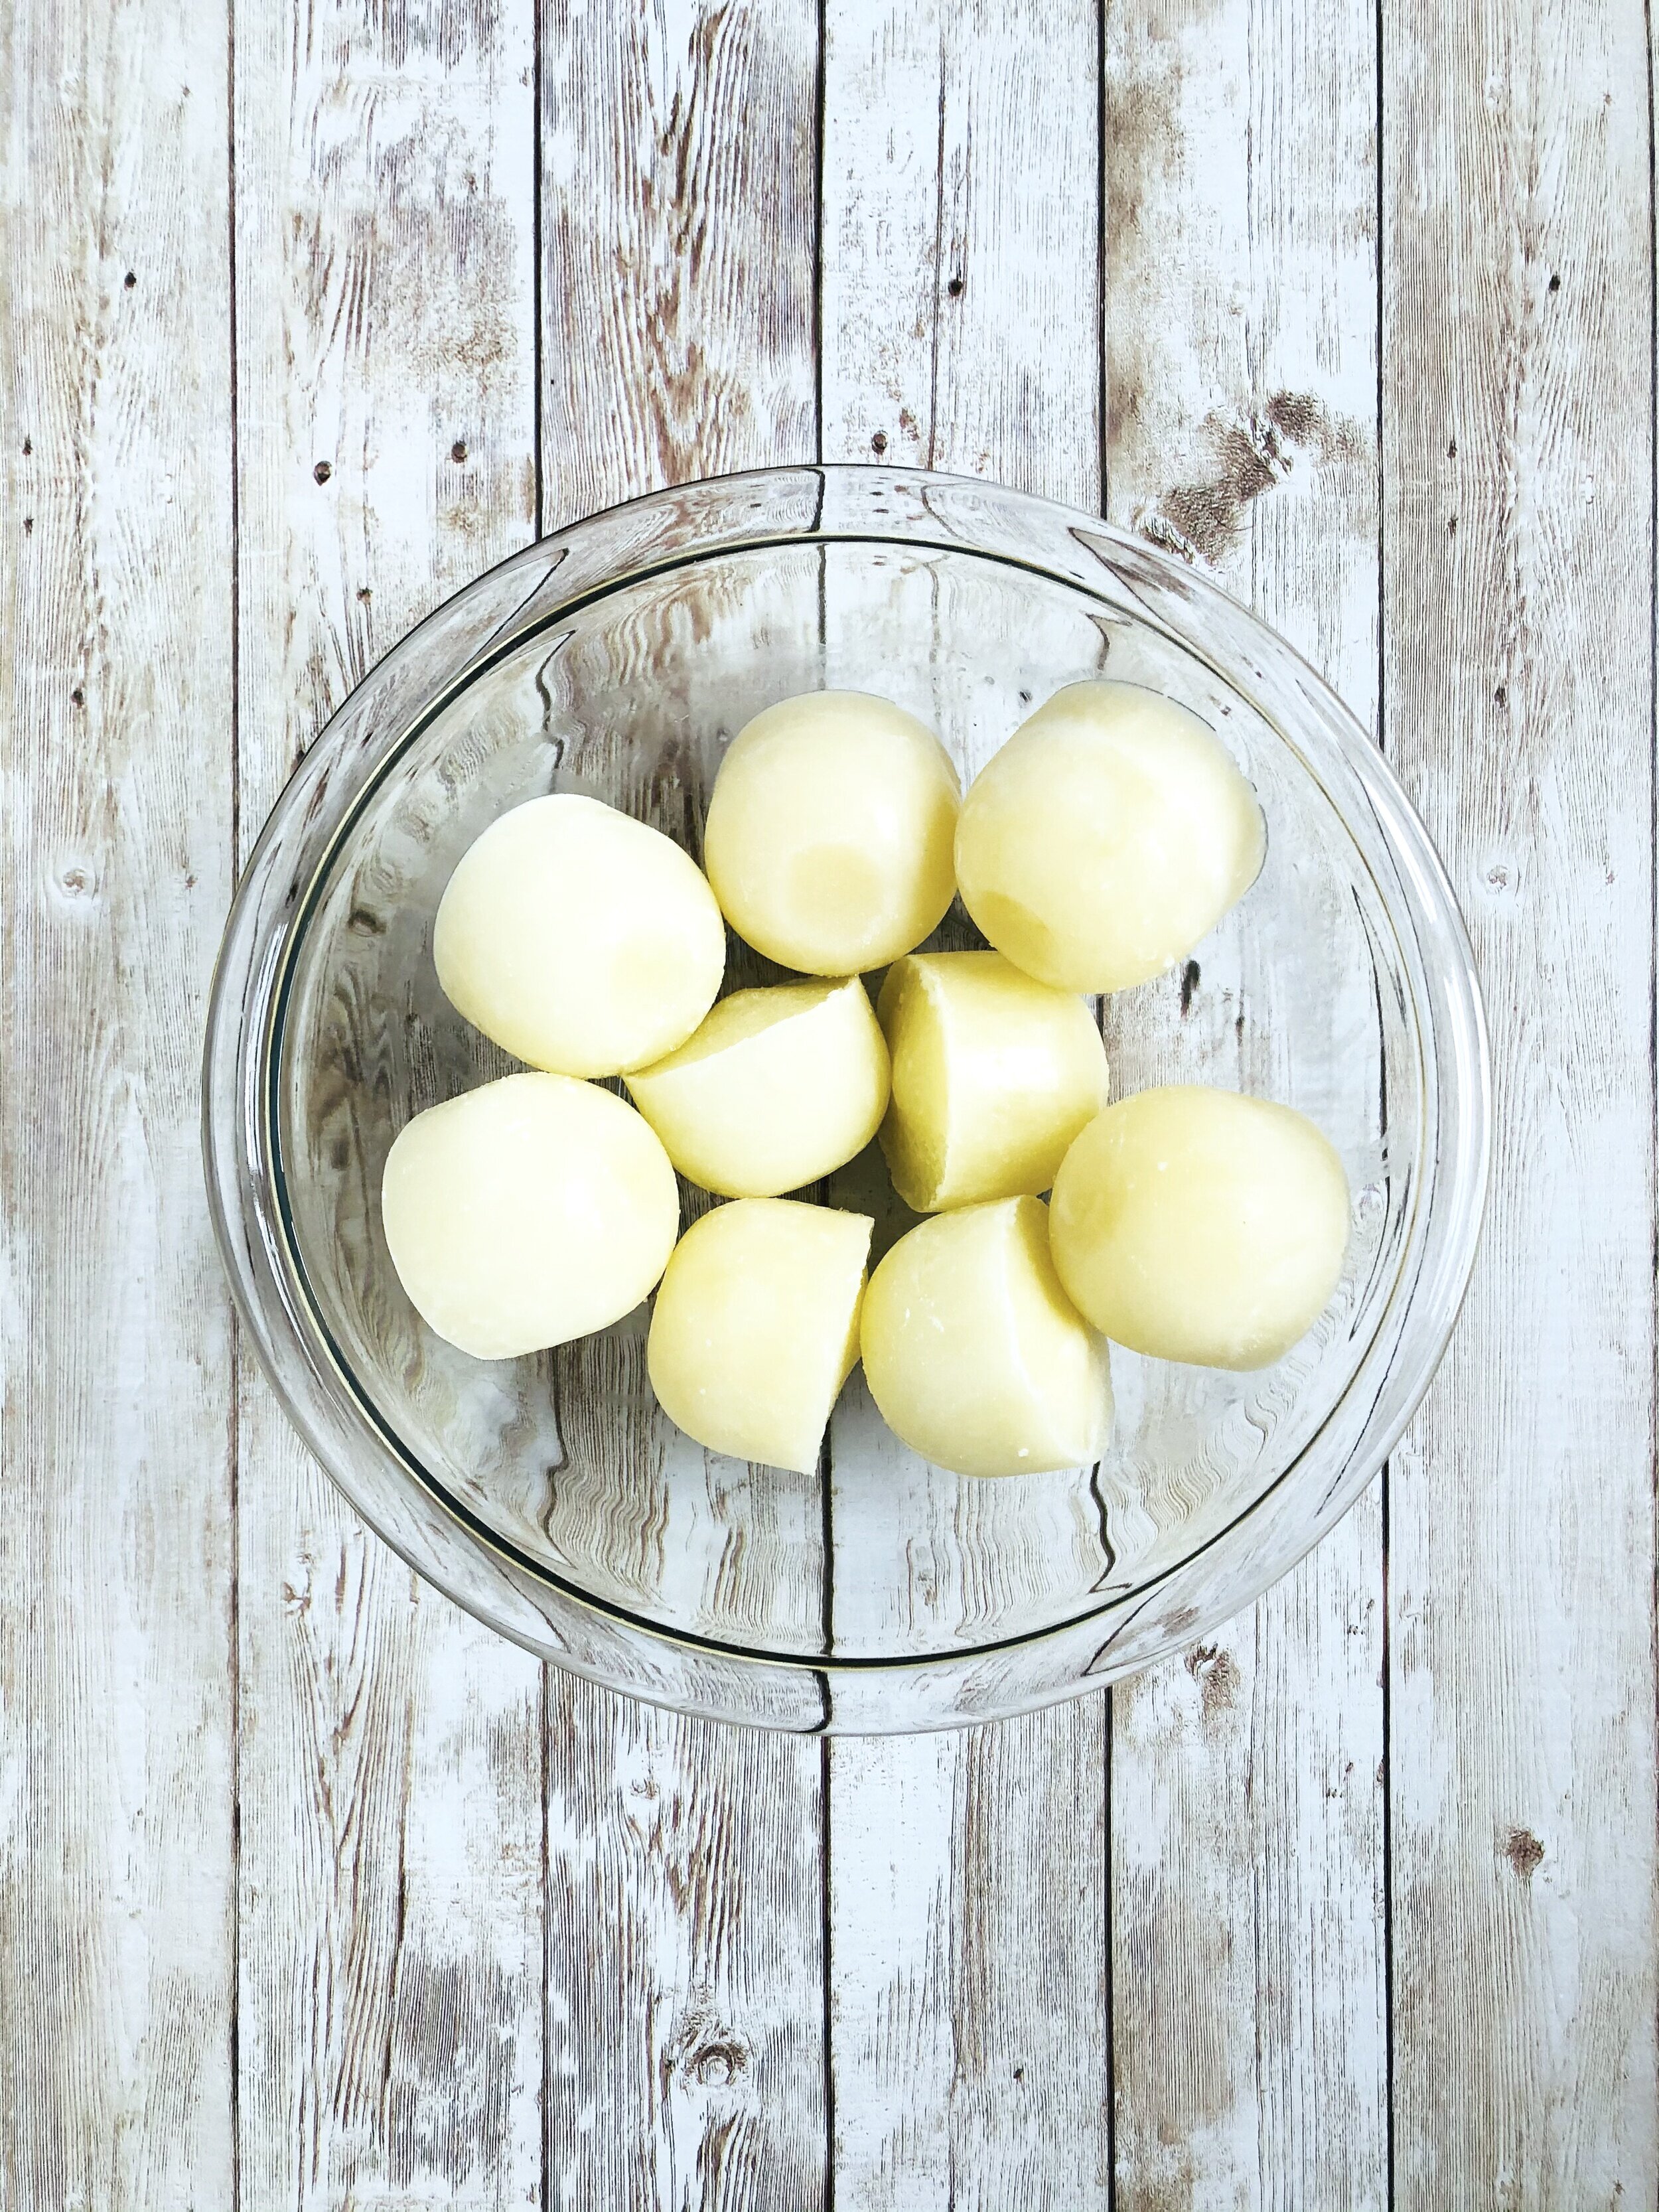
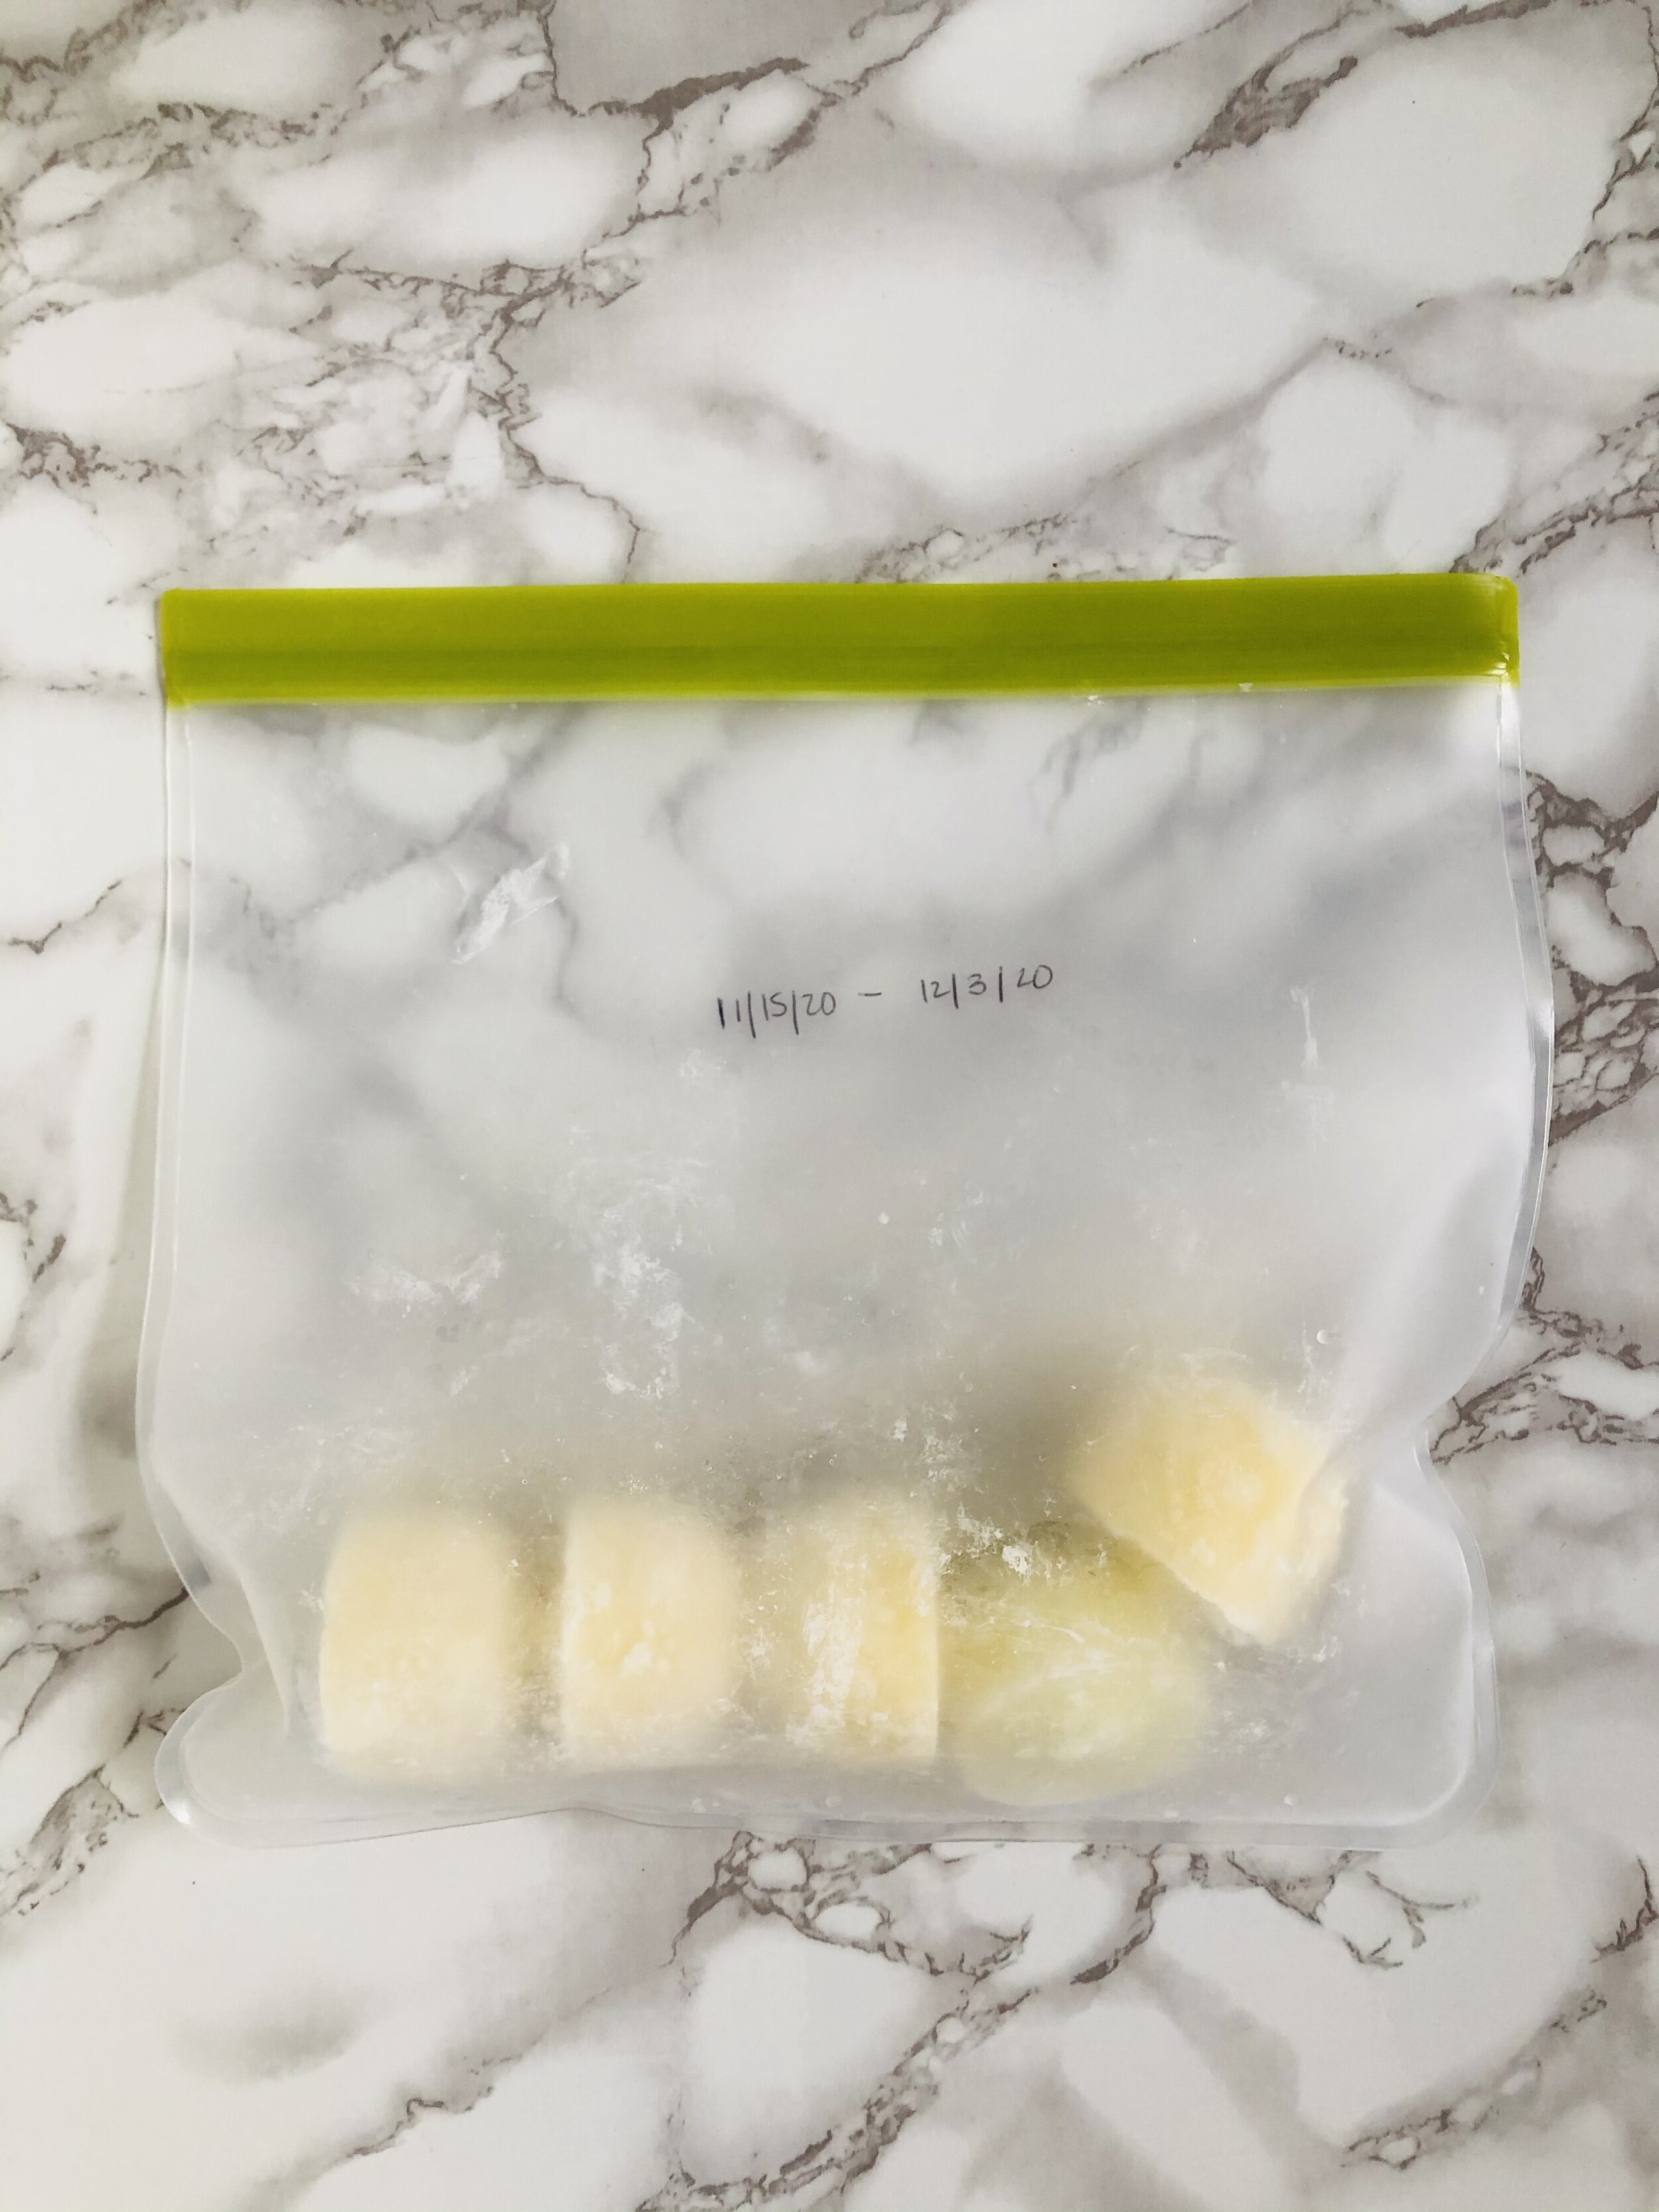
Once the tray is full of frozen milk, scoop the cubes out with a spoon and place in a silicone freezer bag. You could also use a large glass container, but the silicone freezer bag takes up less space. I label the bag with a ballpoint pen showing the date range of the milk inside. If knowing specific dates is important to you, I recommend keeping your milk stored in the jars I linked above.
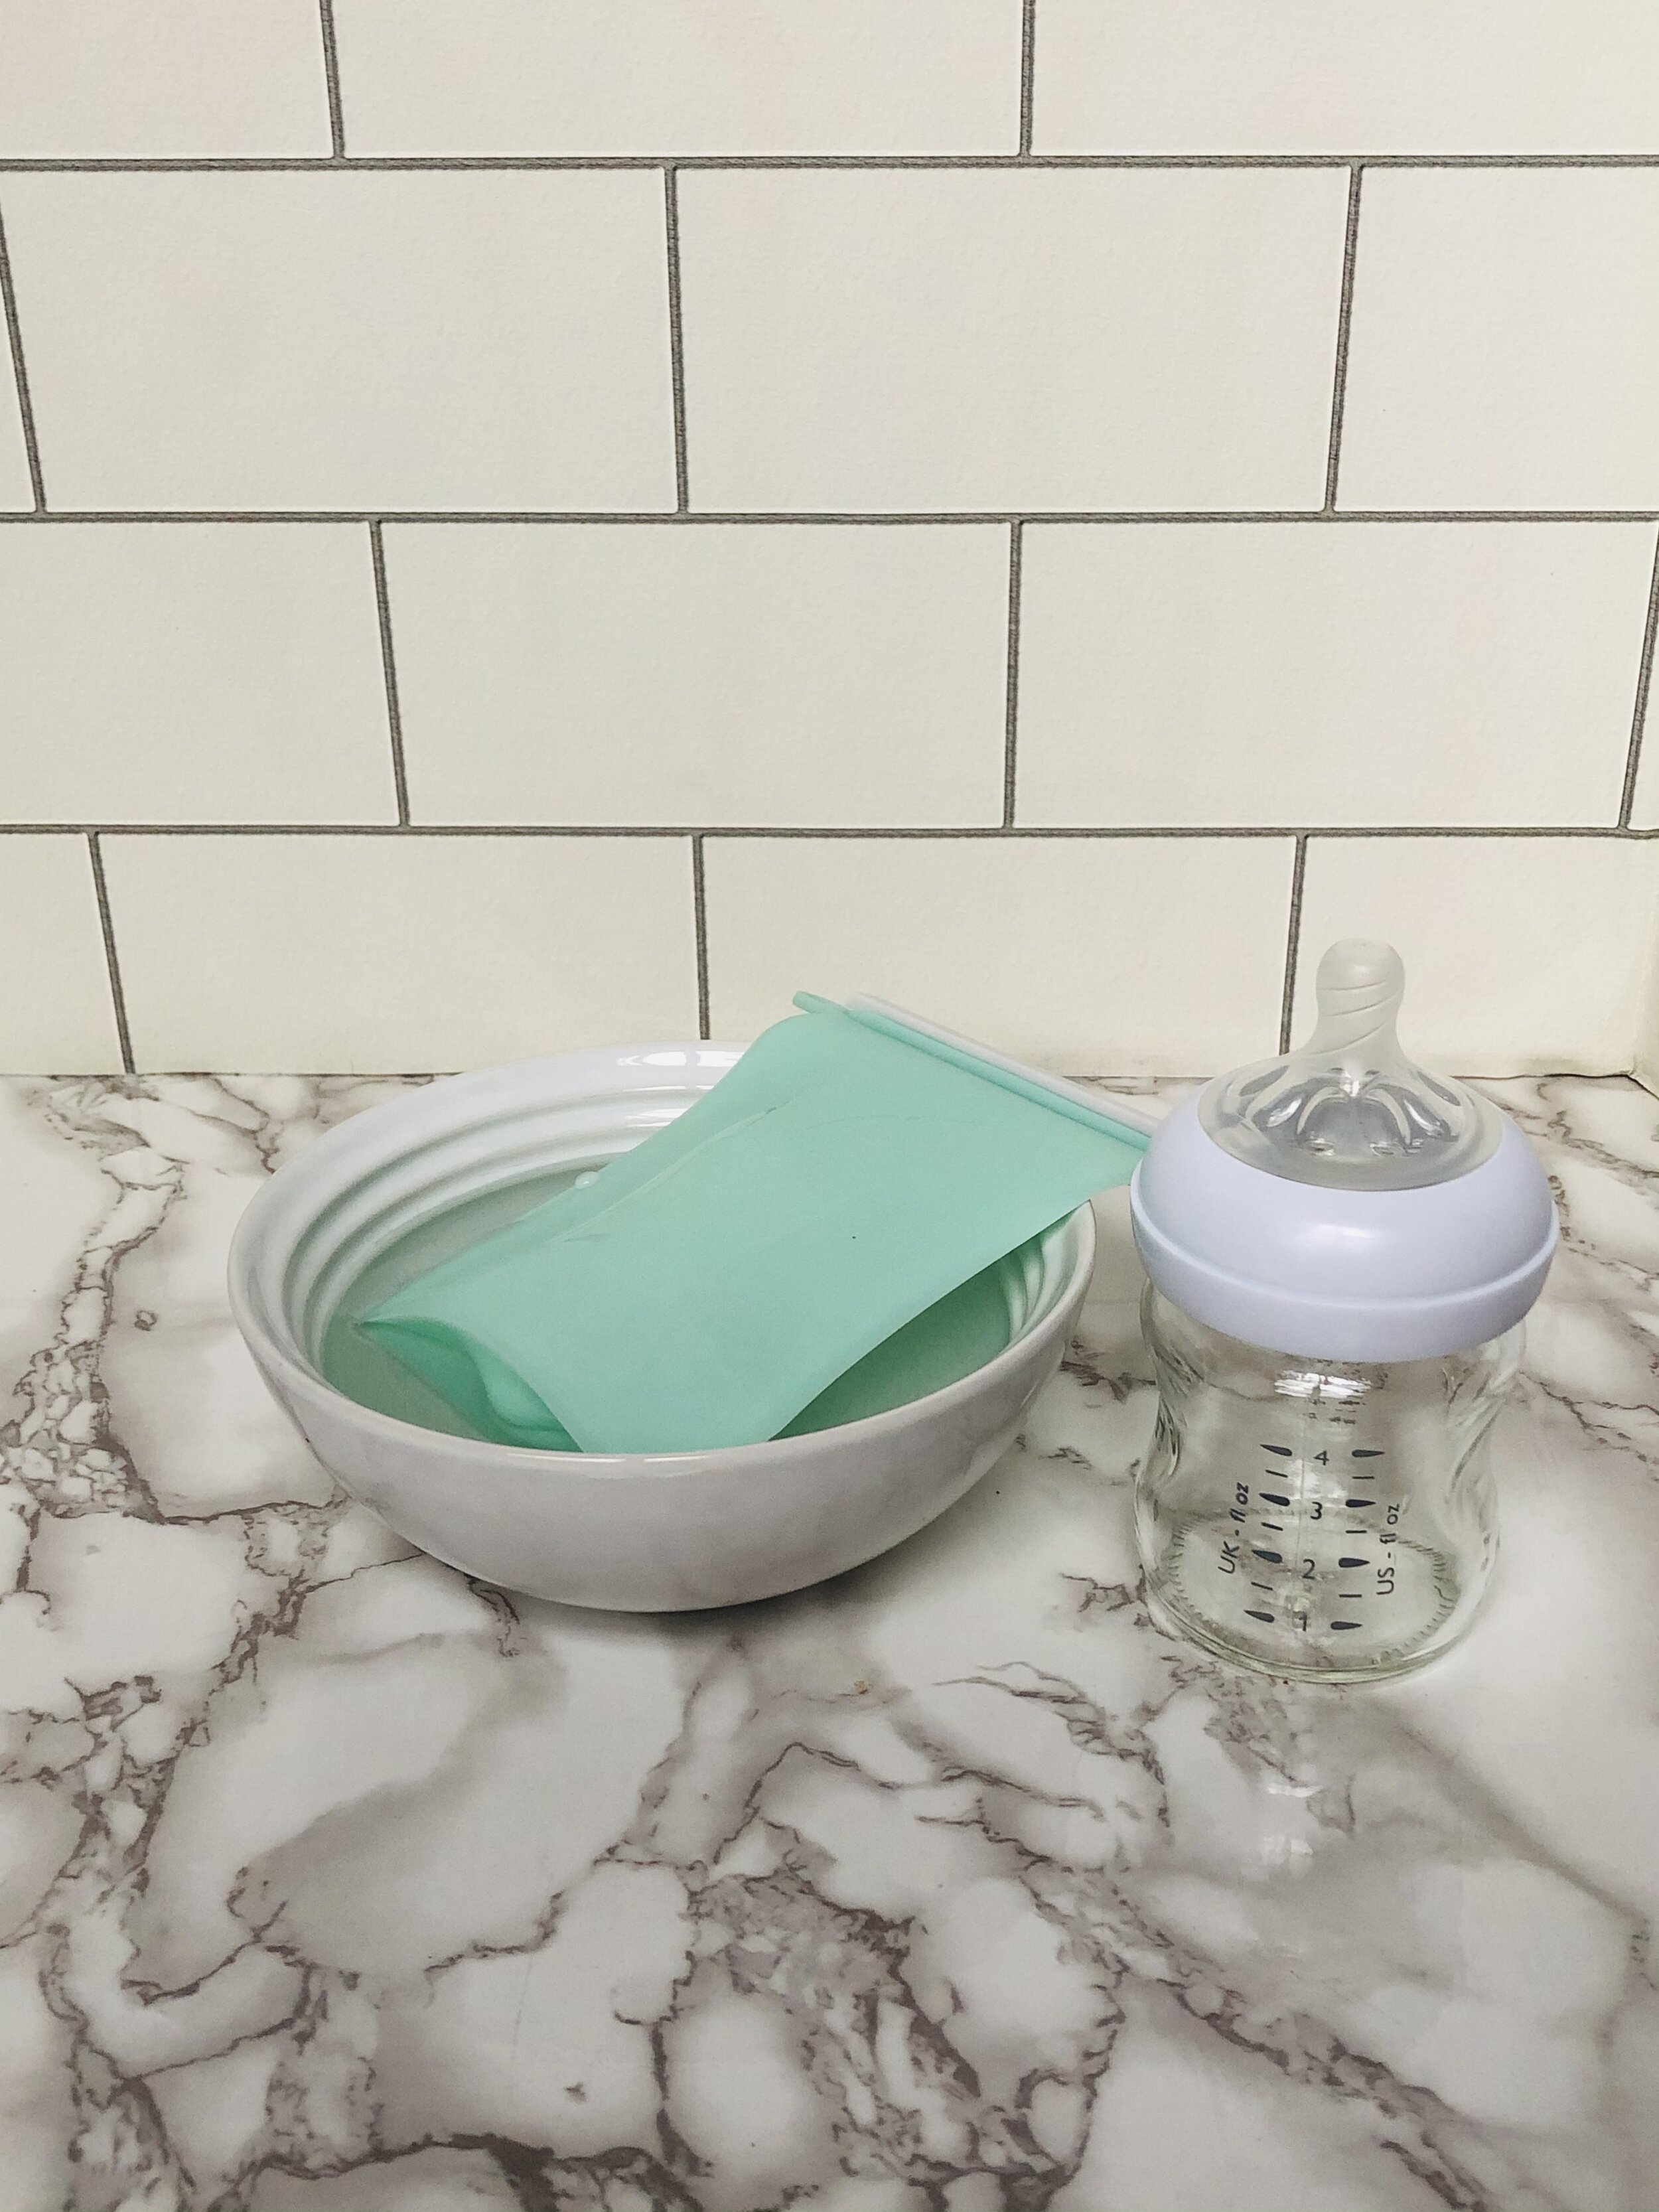
When you need some of the frozen milk for baby, simply take out a cube or two and put them in a small silicone storage bag. Put the bag in a bowl of cool water to thaw, then pour the milk into a glass baby bottle. If storing in small glass jars, you can just thaw the milk in the jar and pour into the baby bottle.
Warm the bottle of milk in a bowl of warm water and serve!
Of course, always make sure your hands are clean when handling breastmilk!
I hope this is helpful for you! Please let me know if you use my method, and send this post to your nursing mama friends.
Related reading: